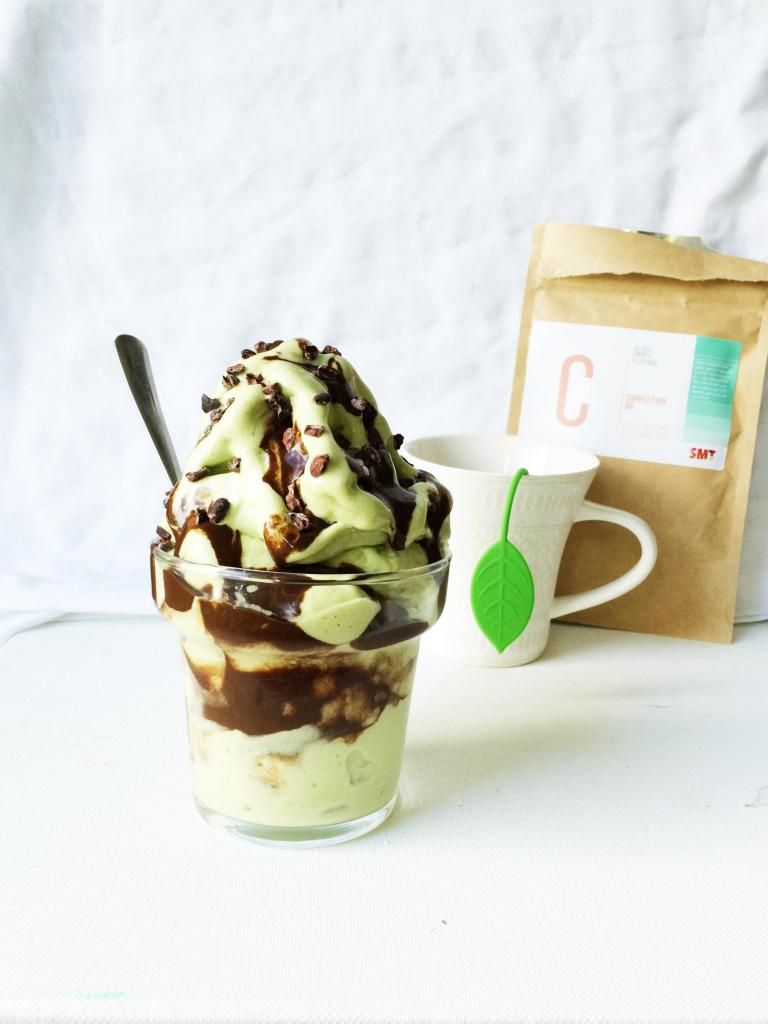
Mint Chocolate Chip Nice Cream
Mint chocolate chip has always been one of my ice cream favourites so I was really happy when I realized that I could totally do a healthy take on this good old classic using bananananas instead of cream. Plus, ice cream making doesn't get any easier than this. Just chuck it all in the food processor and watch magic happen!
Mint Chocolate Chip Ice Cream:
3-4 frozen bananas (~330g)
1/4 cup plant based milk
A few drops of peppermint oil or extract, adjust amount after strength
1 tsp matcha green tea powder
1/2 tsp wheatgrass (optional)
Chocolate sauce:
1 tsp liquid sweetener of choice
1 tsp cacao powder
1 tsp almond milk OR melted coconut oil
Optional:
Vegan chocolate chips/chopped dark chocolate/raw cacao nibs to serve as the chocolate chips
How to:
1. To make the ice cream, simply blend all ingredients in a food processor until completely smooth. I like to blitz everything until all the banana coins have been broken down by the blades before adding the milk. Do what works best for you though, and feel free to add more milk if it won't blend with 1/4 cup.
2. For the chocolate sauce, all you have to do is mix all the ingredients together with a fork. If you decide to use the coconut oil it will harden once you pour it onto the ice cream (provided it hasn't melted ofc) which is kind of cool.
3. Spoon the nice cream up in a bowl or a tall glass, top with chocolate sauce and chocolate chips and serve immediately!


